Superhatch
Menu : Express>Draw>Superhatch
Command Entry : Superhatch
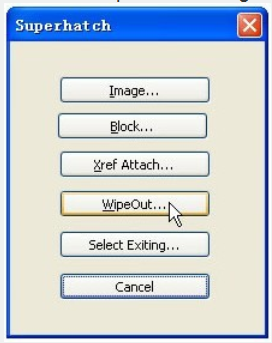
The Superhatch dialog box is displayed
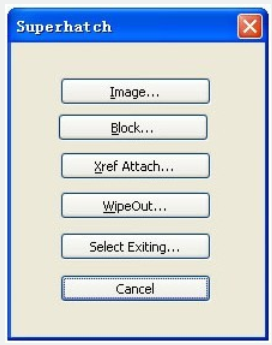
Image : Accesses the Select Image dialog box to specify the image for the hatch pattern.
Block : Opens the Superhatch_Insert dialog box to specify the block for the hatch pattern.
Xref Attach : Accesses the Select reference file dialog box for specifying an xref file for a hatch pattern.
WipeOut : Selects a wipeout object as a hatch pattern.
Select Existing : Selects an existing image, block, xref, or Wipeout as a hatch pattern.
For Images:
1. Open Superhatch dialog box.
2. Click Image... button, choose an image file, the Superhatch Imageraster dialog box is displayed:
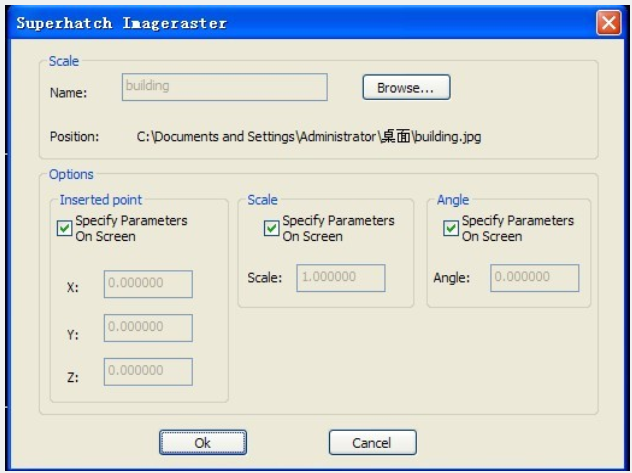
3. Pick the OK button in the Superhatch Imageraster dialog box, specify insertion point, scale factor and angle of rotation.
4. The prompt "Is the placement of this IMAGE acceptable? [Yes/No]<yes>":
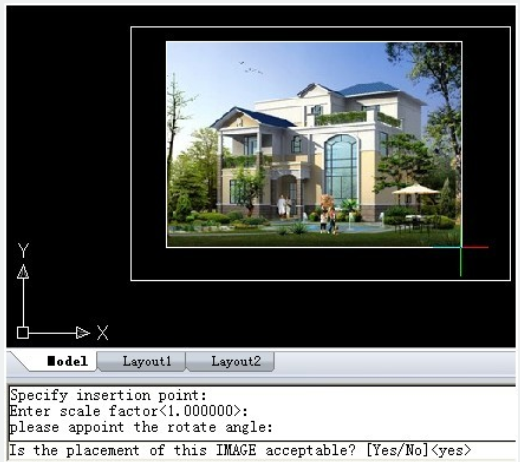
5. Pick a point in the rectangle, press ENTER to finish.
For Blocks:
1. Open Superhatch dialog box.
2. Click the Block... button to access the Superhatch_Insert dialog box:
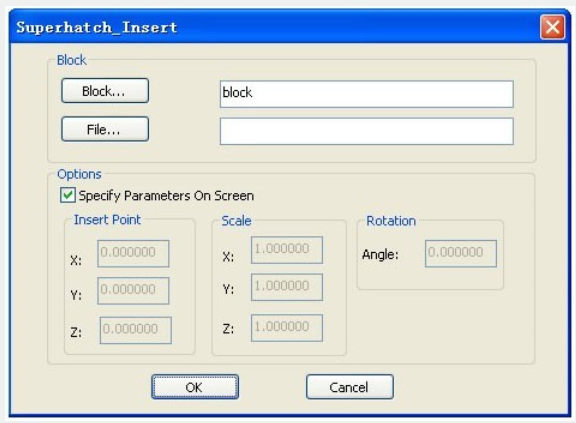
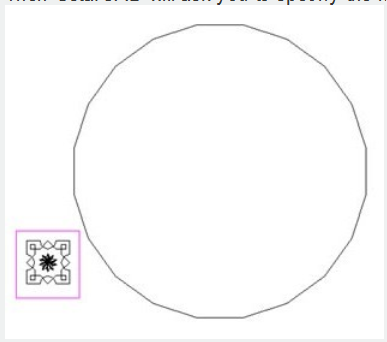
Block: Click the Block... button to select a block in the current file:
File: Pick the File... button to select a drawing file as the block.
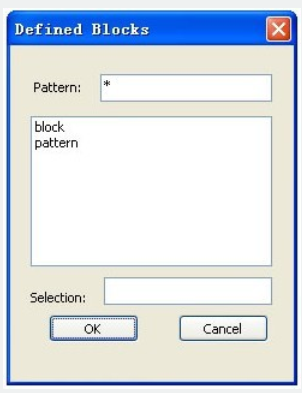
3. Select the block in the Defined Blocks dialog box and press OK.
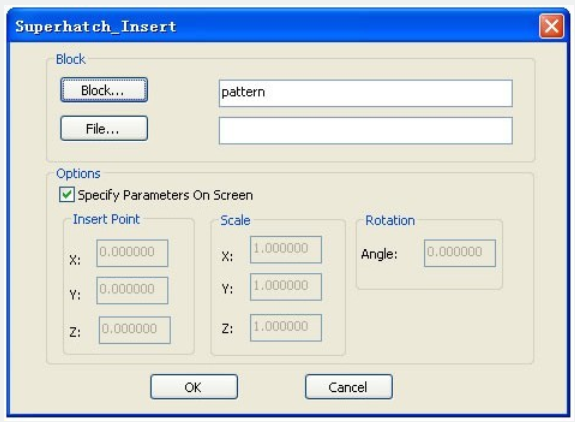
Note: Adjust insertion parameters on screen or deselect the check box to preset insertion parameters:
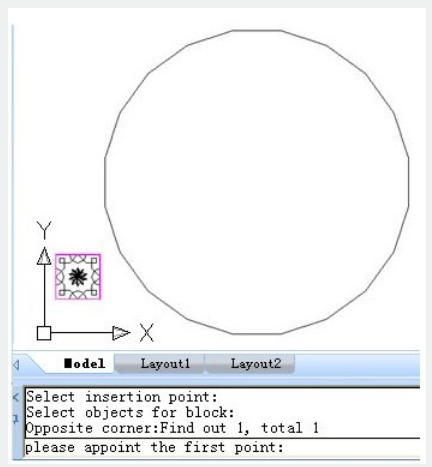
4. Specify insertion point, scale factor and angle of rotation.
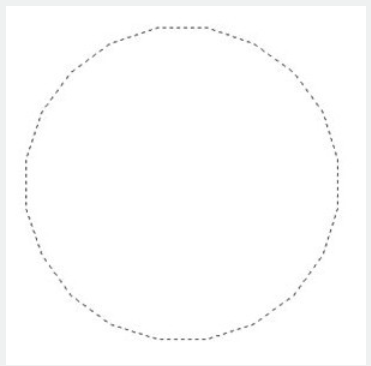
5. The prompt "Is the placement of this IMAGE acceptable? [Yes/No]<yes>"is displayed. Choose No to Esc. If you choose Yes, GstarCAD will ask you to specify the first point:
Then GstarCAD will ask you to specify the next point:
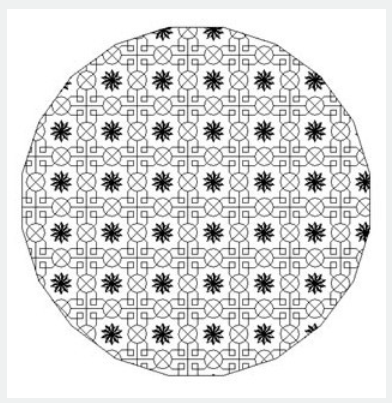
6. Specify an internal point for hatch boundary:
7. Press ENTER to finish hatch:
For WipeOut:
1.Access Superhatch dialog box and click the Wipeout button:
2.GstarCAD will ask you to specify insertion point to create an area that masks underlying objects
3.Press ENTER to finish creating the boundary that masks underlying objects.
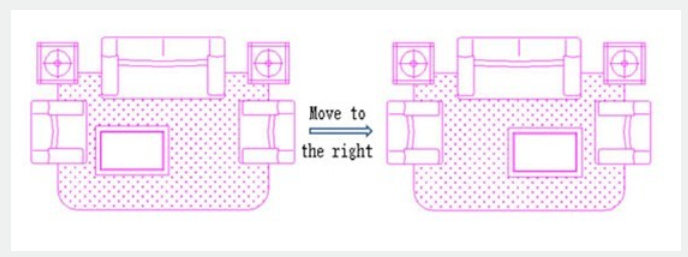
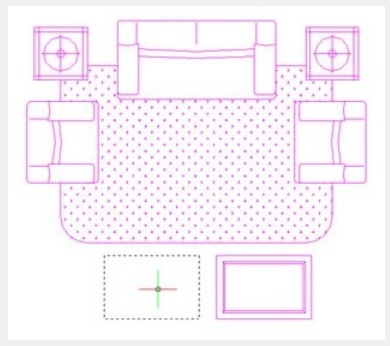
4.As shown in the picture, move the table to the underlying object and make a block:

5. As shown in the picture, move the new block to the carpet, the block will automatically cover the object under it: