GstarCAD 2016 Installation
GstarCAD 2016 Install Wizard will guide the user to install the software in the operating system completely and successfully.
Double-click the executable file downloaded and the "GstarCAD Install Wizard" dialog box will pop up. Click “Browse” and choose the destination path where setup will install the files and then click the "Options" button.
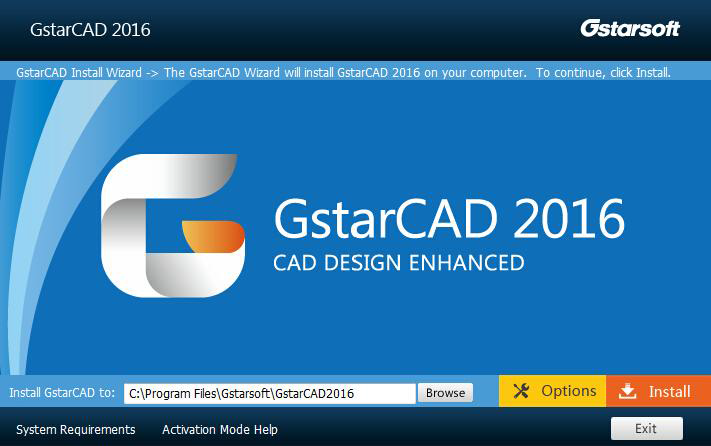
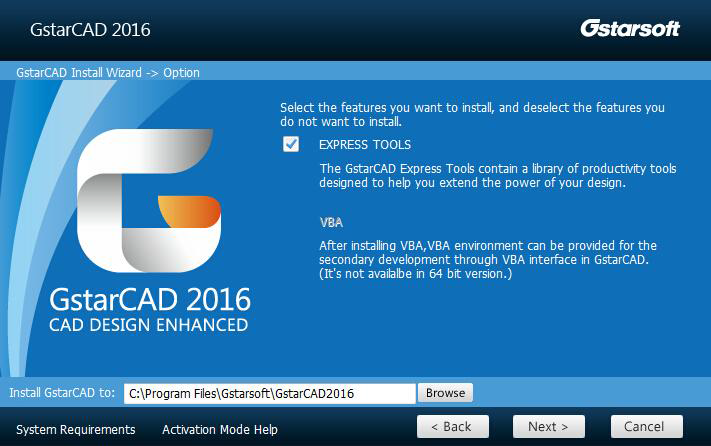
In the “GstarCAD Install Wizard->Option” dialog box , Users can select or deselect the features according to your need. Click the "Next" button.
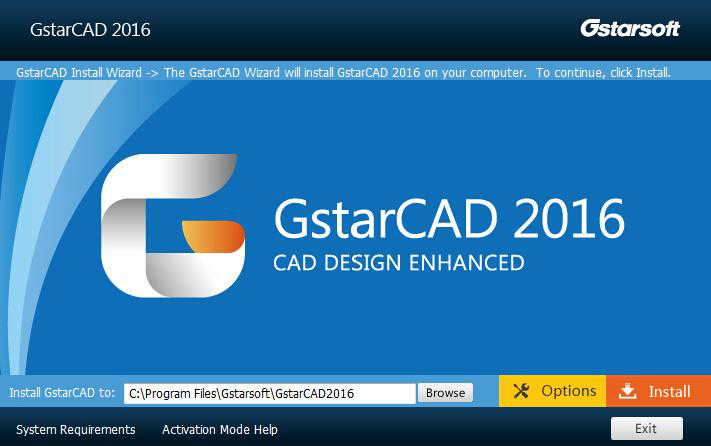
Confirm the path and click the "Install" button to continue.
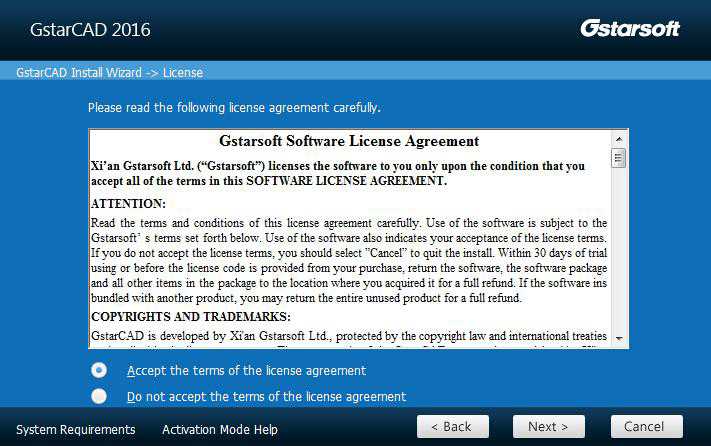
The “GstarCAD Install Wizard->License” dialog box is displayed. If you agree with the license agreement, check “Accept the terms of the license agreement” and click the "Next" button.
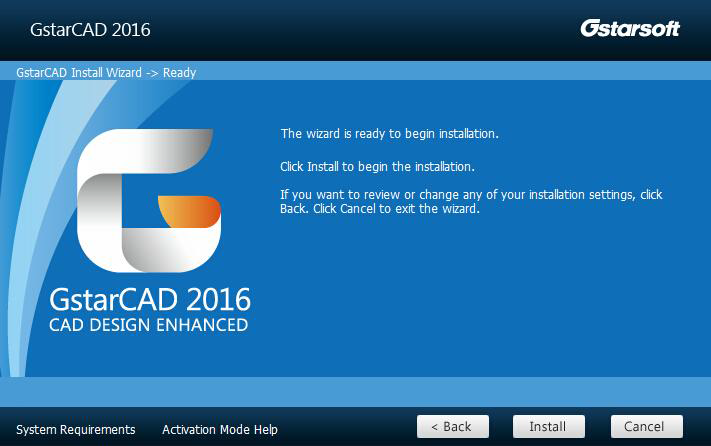
Then the wizard is ready to begin the program installation. If you want to review or change any of your installation settings just click the "Back" button. Click the "Install" button to continue the installation.
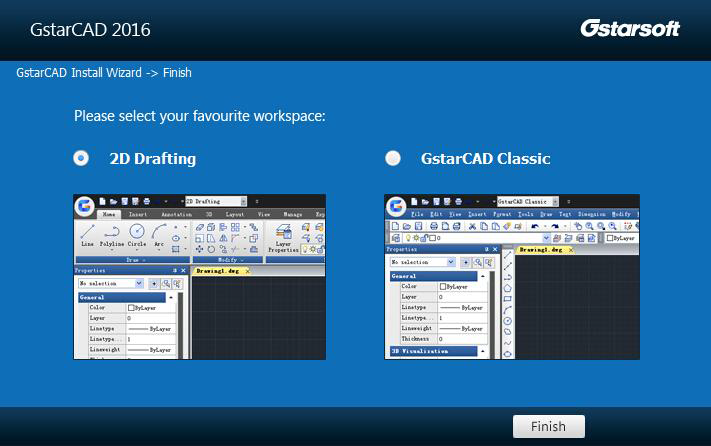
Then you will see the workspace selection window. Select your favourite workspace and click the "Finish" button to exit the wizard, The GstarCAD wizard has successfully installed GstarCAD 2016.
Remark: In GstarCAD 2016, AutoXlsTable has a separate installation package, you need to install it if your Microsoft Office is 2007(32 bit) or 2010(32 /64-bit) when you meet with problem in AutoXlsTable in Express tools tab.